1, Prerequisite: Install golang and GoLand IDE
Golang :https://golang.org/doc/install
GoLand IDE :https://www.jetbrains.com/go/learn/ (Free 30-day trial)
2, Build Project
(1) Run the following command to get go-vite source code.
go get github.com/vitelabs/go-vite
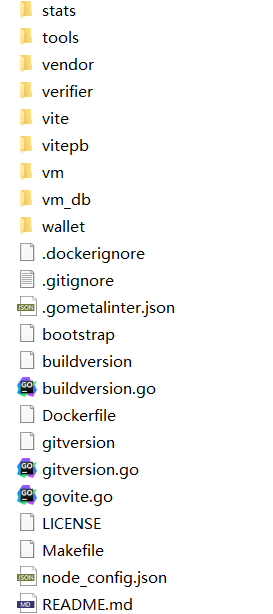
(2) When the source code download finish, you can go to the path "%GOPATH%\src\github.com\vitelabs" to check.
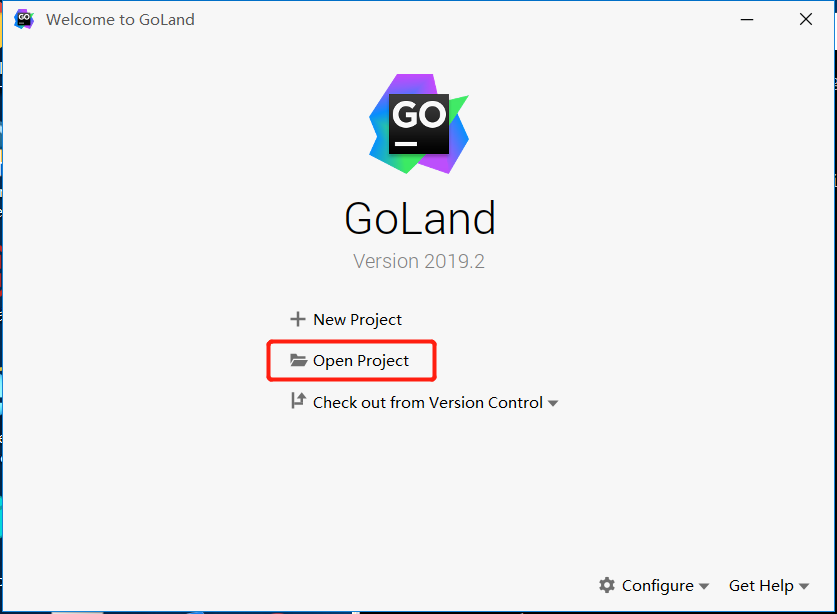
(3) Run GoLand IDE and click the open-project button.
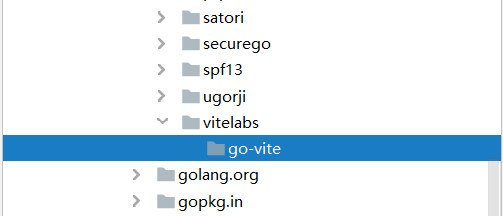
Choose the go-vite source code path which you just downloaded.
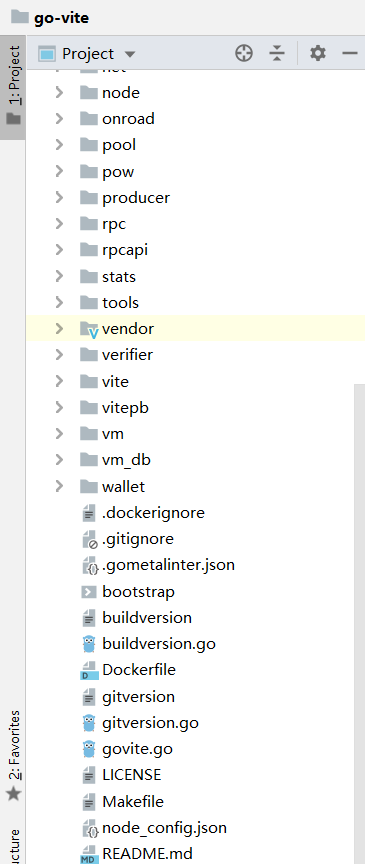
Then you will see the project has been opened.
3, Build Project
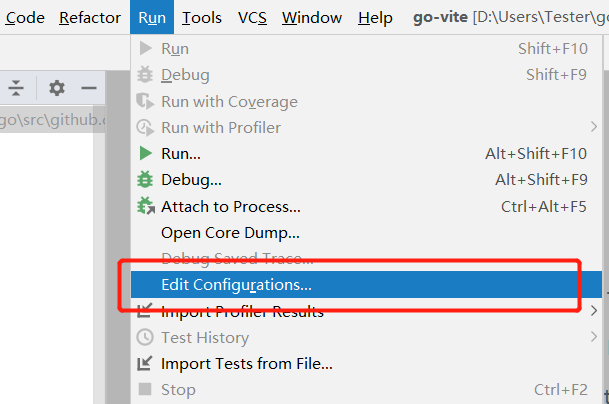
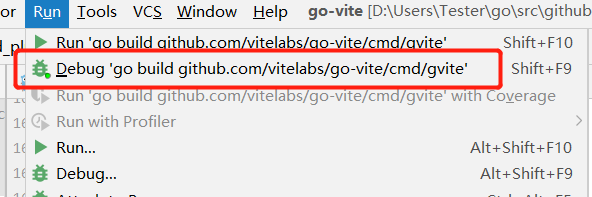
(1) Open the Tab bar "Run" and select "Edit Configurations" function.
(2) Open "Templates" collapse and select "Go Build", actually you don't need to do anything to the default configuration, but you'd better make an output path for the future debug operation.
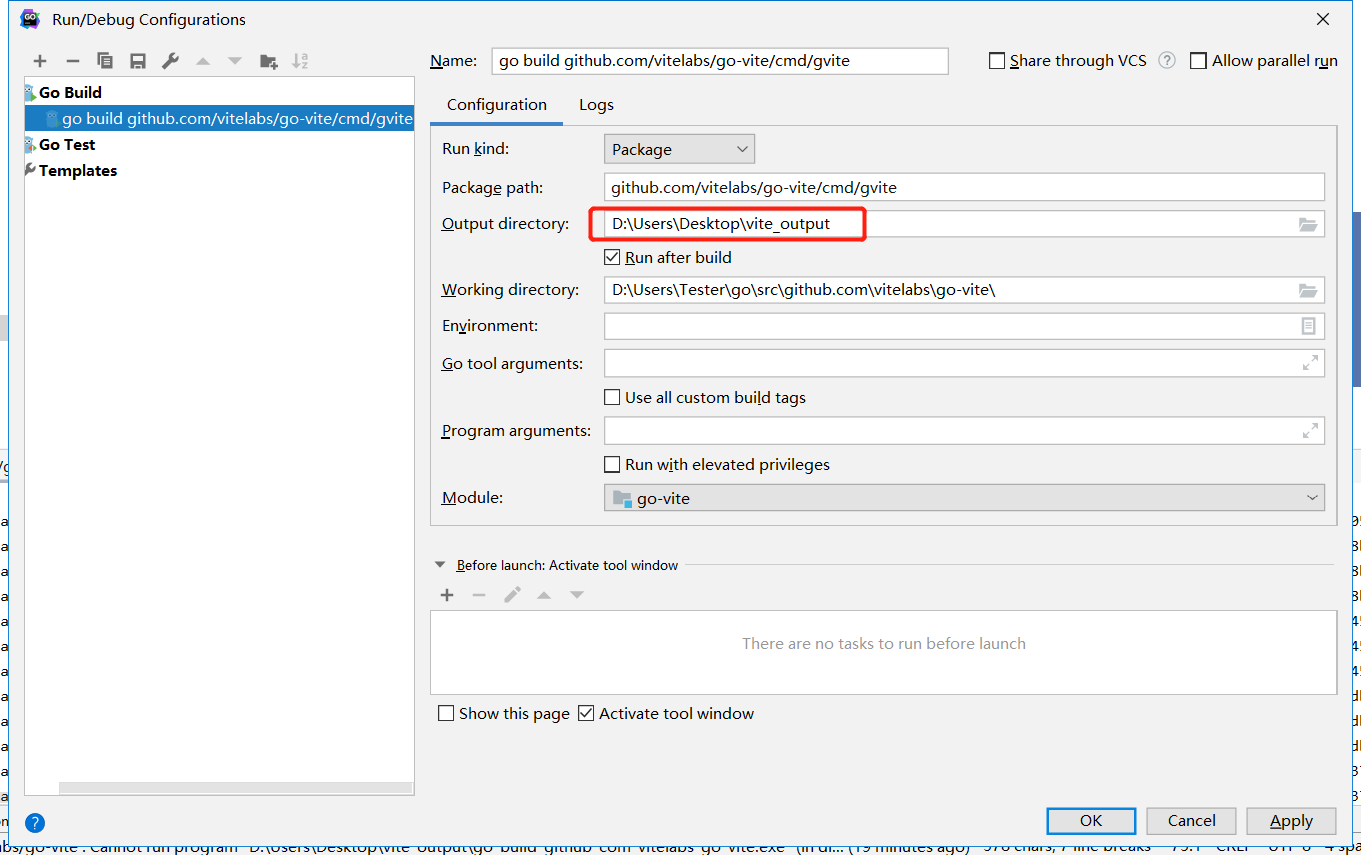
According to the makefile, we know the entrance of the project is the “gvite” command.
Makefile:
gvite-windows-amd64:
   @echo "package govite" > $(shell pwd)/buildversion.go
   @echo "const VITE_VERSION = \""$(shell git rev-parse HEAD)"\"" >> $(shell pwd)/buildversion.go
   @echo "const VITE_BUILD_VERSION = \""$(VITE_VERSION)"\"" >> $(shell pwd)/buildversion.go
   env GOOS=windows GOARCH=amd64 go build -i -o $(GOBIN)/gvite-$(VITE_VERSION)-windows/gvite-windows-amd64.exe $(SERVERMAIN)
   @cp  $(shell pwd)/node_config.json $(GOBIN)/gvite-$(VITE_VERSION)-windows/node_config.json
   @echo "Build server done."ls
   @ls -ld $(GOBIN)/gvite-$(VITE_VERSION)-windows/gvite-windows-amd64.exe
So we need to fill in the “gvite” path in the "Package path" option and click “Apply” to confirm it.
(3) Now let's build and run gvite.
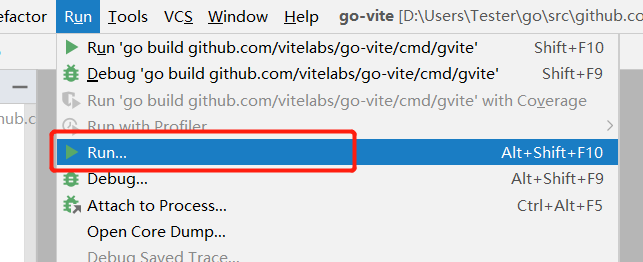
Select “go build …../gvite”.
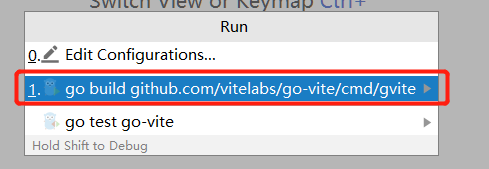
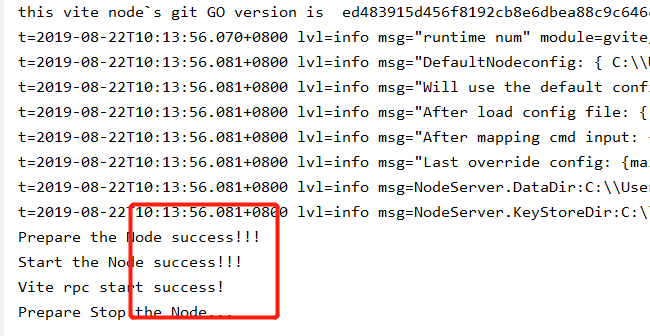
If everything is OK, the gvite will be running success.
4,Debug Project
The entrance of gvite is very clearly. The best way to understand the whole project is to begin from the main function.
// gvite is the official command-line client for Vite

func main() {
   govite.PrintBuildVersion()
   gvite_plugins.Loading()
}
The first line of the main function is to print a version number, we can ignore it.
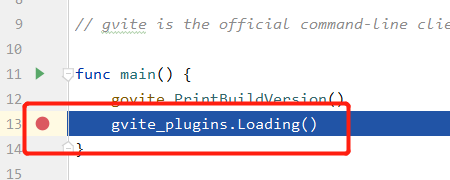
We set the breakpoint at gvite_plugins.Loading()
It’s too simple to make a breakpoint. You just need to click one time at the place of a code line number. If it shows a redpoint means setting is successful.
Now we use Debug mode to run the project.
You will see the program break at “gvite_plugins.Loading()” ,then you can use 4 ways to debug the program,like F8(step over),F7(step into),Shift+F8(step out),Alt+F9(run to cursor).
Due to this is the main entrance, so we use F7 to continue. Then the program will go to the following function.
func Loading() {
   if err := app.Run(os.Args); err != nil {
      fmt.Fprintln(os.Stderr, err)
      os.Exit(1)
   }
}
The remaining work is to do "break and run, break and run, loop and loop" continuously until you understand the logic of the program.
OK, that’s all! Maybe next time I will share some code analysis.